
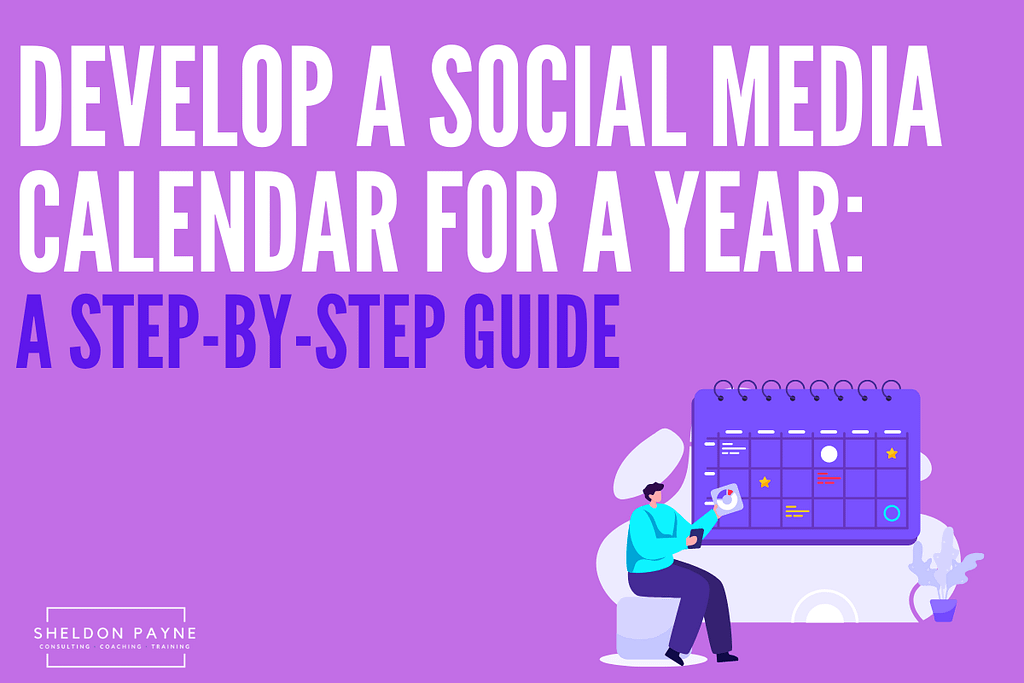
Unlock the power of social media for your business. Learn how to develop a social media calendar for the year with this step-by-step guide.
Social media calendars are the way to the future when it comes to advertising in marketing. With so many platforms that cater to specific audiences, it can be tough to keep track of on our own.
That’s where a social media calendar can really come in handy.
What is a Social Media Calendar?
A social media calendar is like a spreadsheet you can fill out once a week with a repository of posts that are set to automatically upload at your preferred times, to your specified platforms.


Even if you have an awesome piece of content you want to share across all your social media platforms, you can’t copy and paste the same exact messaging for every social media page. What works for Facebook might not speak to your Linkedin audience, and what drives engagement with your Twitter followers might be a flop on Instagram.
All of this can be a lot to keep track of, which is why a social media calendar can be useful. If you want to do it old school, you can use an actual spreadsheet to keep track of your posting, or you can use a third party that automatically uploads the posts for you.
Why Use a Social Media Calendar?
With social media as a fast and ever-changing medium, it’s good practice to ensure you’re keeping on top of it. There are many benefits that come with enlisting the help of a social media calendar, such as:
Consistency
Posting to social media ad-hoc can cause consistency issues both in your frequency and even in your brand.
Your customers should not feel like they’re in a one-sided relationship.
Having consistent posting habits reinforces the relationship you have online with your audience. It is equally important to be consistent with the brand image, which is easy when you are thoughtfully creating posts in advance. With a social media calendar, you can choose the copy and voice, images and colours that match your brand. Post what your audience wants to see.
Sets Deadlines


Social media posting can often feel like a massive time-suck, but it doesn’t have to be! With the aid of a social media calendar, you can keep menial tasks to a minimum, and focus on big-picture stuff.
By simply loading your social media calendar with things set to post for the week, the month, or even the year, you can sit back and relax, knowing your social media presence is taken care of.
Tracking Success

With a social media calendar in place, it makes tracking the success of certain posts simple. You can see exactly what was posted and when to cross-check which things your audience likes to see and better your engagement for future posts.
Set Campaigns
When planning your social media posts for the year, you should also plan posts around any upcoming campaigns. While it’s great to promote content old and new, it is important to account for any upcoming campaigns and schedule the social media posts accordingly, to align with your overall strategy.
How to Create a Social Media Calendar

Creating a social media calendar is very straightforward. Here are 5 steps to follow when getting started:

Step One: Social Media & Content Audit
Before you can get started with a social media calendar, it is important to do a social media and content audit, to determine what you have and, more importantly, what works.
![]()

![]()

![]()

Step Two: Know Your Audience
Knowing and understanding your audience is one of the most important things in the social media game. If you’re posting content that your audience isn’t interested in, you might as well not post at all.


Step Three: Determine Frequency & Place
With consistency, comes choosing the right frequency in which to post. Keep in mind, however, that one frequency does not suit every platform. Further, once you know where your audience is, and what content they prefer, you can pick the right platforms to post on.
![]()

![]()

Step Four: Choose a Social Media Calendar Tool
You can choose to organize your social media calendar the traditional way, such as with an Excel or Google Sheets spreadsheet, and upload the posts manually. Or, you can use a social media calendar that automatically posts it all for you.
![]()
![]()

Step Five: Create Your Posts
You’ve determined which content to post according to your audience, where to post it, how often, and what software tool to use. Now, it’s time to create and schedule those posts!
![]()

![]()
![]()


Now let the software do the rest!
TIPS:
- Develop a repository of content to choose from. Don’t be afraid to up-cycle and recycle old posts! When creating a calendar for the year, it’s unlikely that a post you promoted in January will be remembered in October.
- Promote a mix of content. Whether you have white papers, articles, events or more, don’t promote 5 blog posts in a row if you have other things to offer!
- Align hashtags to the social channel you use. It’s not just about the copy – sometimes people search for relevant content by hashtags. Some hashtags are more popular on different platforms. For instance, a hashtag like #innovation might be more relevant on Linkedin, than on Facebook.
- To find what #hashtags are relevant this month, check out my series of hashtags calendars for each month
Image by Wokandapix and Pixabay
Image by Edubirdie